
Having trouble with 3D prints getting stuck to the bed? We’ve got you covered! In this article, we’ll provide a quick and easy solution to remove those stuck prints and share tips on how to prevent them from sticking in the first place. Whether you’re a beginner or an experienced 3D printer, dealing with prints adhered too firmly to the bed can be frustrating. But fear not, because we’re here to help you tackle this common issue head-on. So let’s dive right in and discover the secrets to achieving smooth and hassle-free 3D printing!

Understanding Why 3D Prints Get Stuck to the Bed
When it comes to 3D printing, bed adhesion plays a crucial role in the successful completion of a print. The bed is where the first layer of the print is deposited, and if it doesn’t adhere properly, the entire print can fail. Understanding the reasons why prints get stuck to the bed is essential for troubleshooting and improving the printing process.
Importance of Bed Adhesion
Having good bed adhesion is vital because it ensures that the print firmly sticks to the bed during the printing process. Without proper adhesion, the print may become loose or detach from the bed, resulting in a failed print. It becomes especially important when printing complex or intricate models that require a solid foundation. Good bed adhesion promotes precise and accurate layer deposition, resulting in high-quality and successful prints.
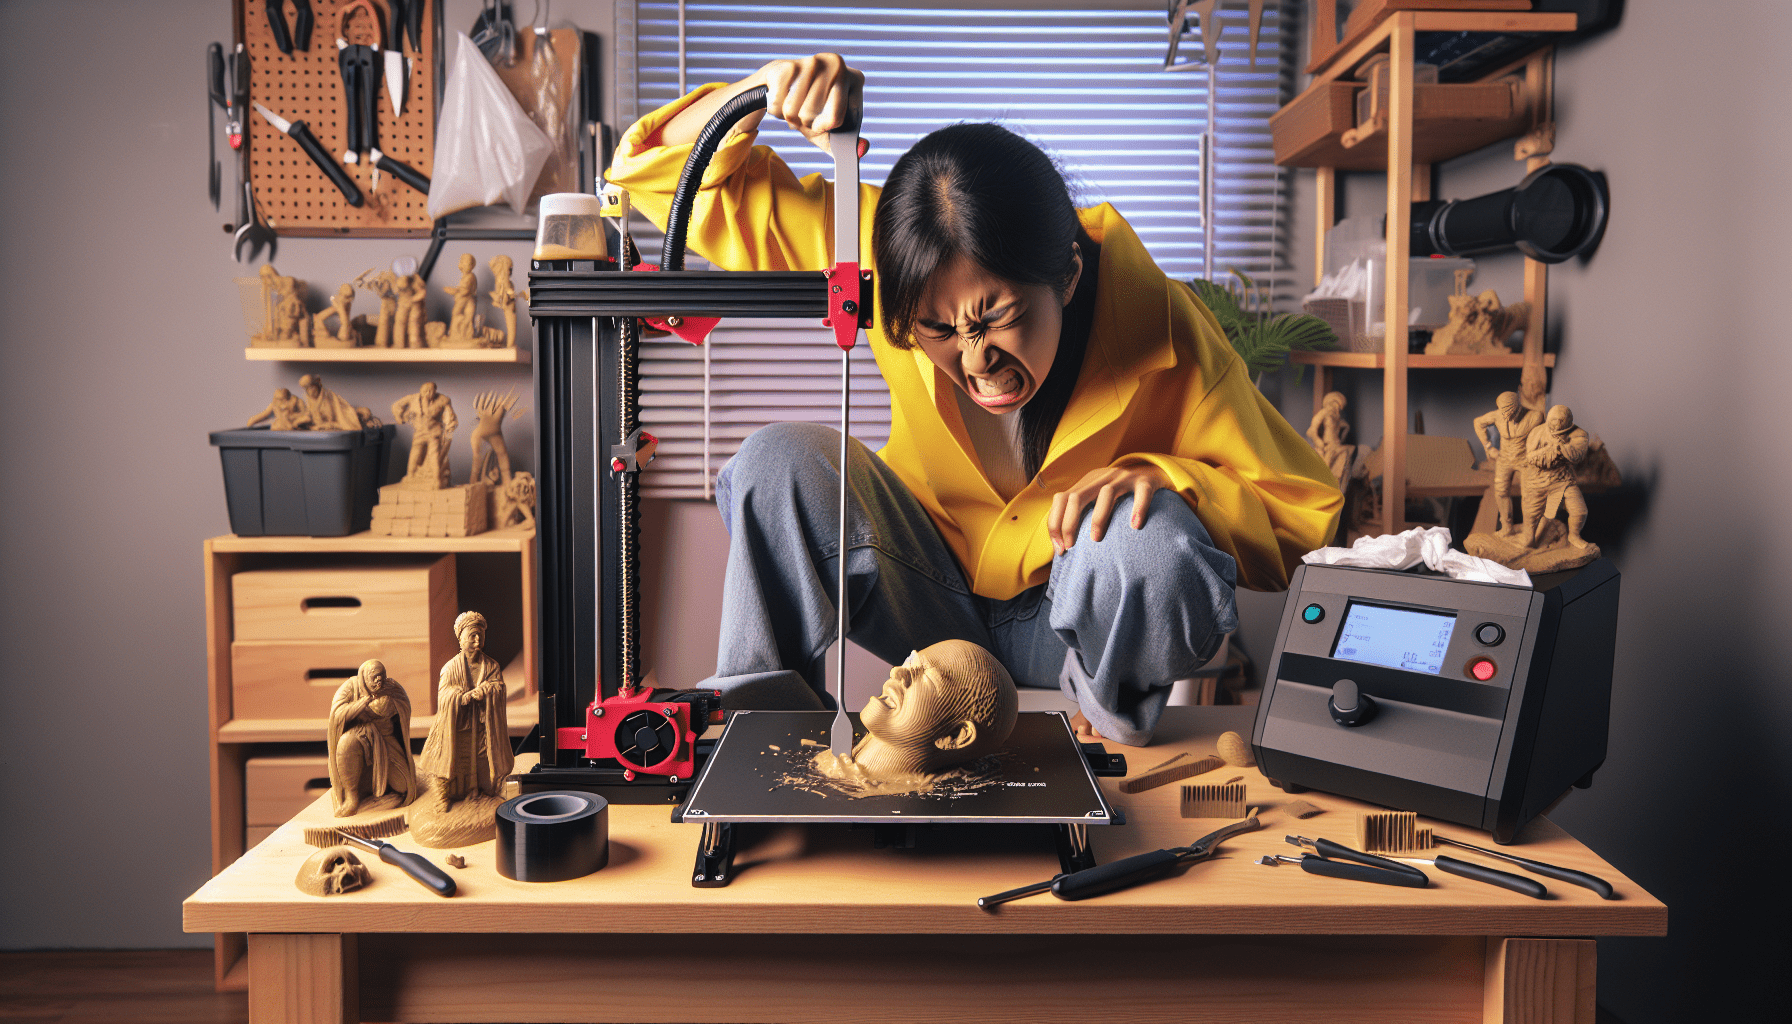
Common Causes for Prints Getting Stuck
Several factors can contribute to prints getting stuck to the bed. One common cause is using the wrong bed surface. Different materials require different types of surfaces for optimal adhesion. Another reason could be poor bed leveling, where the distance between the nozzle and the bed is not properly adjusted. Insufficient or improper application of adhesive materials can also cause prints to stick or not stick well enough.
Effects of Poor Bed Adhesion
When prints have poor bed adhesion, the consequences can be frustrating. Prints may start to warp or curl, causing layers to lift or separate from the bed. Such issues can lead to misalignment and inaccurate prints. Furthermore, the prints may fail altogether, wasting time, filament, and effort. Inconsistent or disrupted bed adhesion can result in poor print quality, preventing the print from achieving the desired shape and detail.
Preventing 3D Prints from Getting Stuck
Preventing prints from getting stuck to the bed requires a proactive approach to bed adhesion. By employing the right techniques and implementing proper print settings, you can significantly improve the success rate of your prints.
Choosing the Right Bed Surface
One crucial aspect of preventing prints from sticking to the bed is selecting the appropriate bed surface. Various materials like glass, PEI sheets, magnetic flex plates, and specialized adhesive sheets offer different levels of adhesion for different types of filament. Research and experiment to find the bed surface that works best for the filament you are using. Each material has unique properties that can enhance or hinder bed adhesion.
Applying Adhesive Materials
To improve bed adhesion, applying the right adhesive materials is essential. Common options include glue sticks, hairspray, or adhesive sprays. These substances create a thin layer on the bed, offering additional grip for the print. Apply them sparingly, as too much adhesive can lead to a messy print or difficulty in removing the finished product.
Optimizing Bed Leveling
Proper bed leveling is crucial for ensuring consistent and effective bed adhesion. Accurate bed leveling ensures that the nozzle is at the correct distance from the bed surface, allowing the filament to be extruded at the right height. Use the printer’s built-in leveling feature or manual methods to adjust the bed position to the correct level. Regularly check and calibrate the bed level to maintain good adhesion.
Using Proper Print Settings
Print settings play a significant role in bed adhesion. Tweaking parameters like extruder temperature, print speed, and flow rate can greatly affect how well the print adheres to the bed. Printing the first layer at a slightly slower speed can allow for better adhesion, as the filament has more time to bond with the bed surface. Experiment with different settings and fine-tune them to achieve optimal adhesion.

Methods to Remove Stuck Prints
Even with the best preventive measures in place, there may still be instances where prints get stuck to the bed. In such cases, several methods can help you safely remove the stuck prints without damaging the print or the bed surface.
Cooling the Print Bed
One of the simplest methods to remove stuck prints is by cooling the print bed. Lowering the temperature causes the filament to contract, thereby reducing the bond between the print and the bed. Once the bed has cooled down, gently try lifting the print with a spatula or other suitable tools. Gradually increasing force or tapping the print bed can help loosen the stuck print.
Applying Gentle Force
If cooling the bed doesn’t work, applying gentle force is another option. Carefully insert a thin, flat tool or scraper beneath the edges of the print and gently pry it upwards. Avoid using excessive force, as it may cause damage to the print or the bed surface. Work slowly and patiently, releasing the print bit by bit until it comes off completely.
Using Heat for Release
In some cases, using heat can help release a stuck print. Heating the print bed slightly can soften the filament, making it easier to remove. Use a heated bed or a hairdryer to apply gentle heat to the bed surface. Once the filament has softened, carefully lift the print using a scraper or spatula. Be cautious not to burn yourself or damage the print or the bed.
Techniques for Improved Bed Adhesion
Ensuring optimal bed adhesion requires implementing various techniques and adjustments in the printing process. These techniques focus on factors like bed temperature, surface preparation, support structures, and calibration.
Bed Temperature
Adjusting the bed temperature can significantly impact adhesion. Different filaments require different bed temperatures for optimal bonding. Experiment with different temperatures to find the sweet spot for the filament you are using. Generally, higher bed temperatures enhance adhesion, but be cautious not to exceed the manufacturer’s recommended temperature range for the filament.
Bed Surface Preparation
Proper bed surface preparation is crucial for improving adhesion. Clean the bed regularly to remove any dust, debris, or adhesive residue from previous prints. Isopropyl alcohol or specialized cleaning solutions can be used for effective cleaning. Additionally, some bed surfaces benefit from light sanding to create a slightly rougher surface, enhancing adhesion.
Raft or Brim Usage
Using a raft or brim is another effective technique for improving bed adhesion. A raft is an additional layer of material printed underneath the actual print, acting as a buffer between the print and the bed. The raft provides extra support and improves adhesion. Similarly, a brim is a thin layer of material printed around the base of the model, increasing surface area and promoting better adhesion.
First Layer Calibration
Calibrating the first layer is critical for achieving proper bed adhesion. Fine-tuning the nozzle height or adjusting the Z-axis offset ensures that the first layer is deposited at the ideal height. A too-high or too-low first layer can cause poor adhesion or even prevent the filament from extruding altogether. Take the time to calibrate the first layer to achieve consistent and reliable bed adhesion.

Identifying and Fixing Print Bed Issues
Although bed adhesion issues can be frustrating, identifying and fixing the underlying problems can help improve the printing experience. Here are some common print bed issues and potential solutions.
Uneven Bed Surface
An uneven bed surface can lead to inconsistent adhesion and result in failed prints. Use a leveling tool or adjust the printer’s built-in leveling feature to ensure that the bed is perfectly level. For manual leveling, adjust the bed screws carefully to achieve an even and flat bed surface.
Warping or Curling of Prints
Warping or curling of prints is often caused by insufficient bed adhesion, temperature fluctuations, or improper cooling. Increasing the bed temperature, enclosing the printer to maintain a stable temperature, or using a heated bed can help minimize warping. Additionally, applying adhesive materials or using a brim can assist in preventing warping or curling.
Dirty or Oily Print Bed
A dirty or oily print bed can hinder bed adhesion. Regularly clean the bed surface with isopropyl alcohol or specialized cleaning solutions to remove any residue or oils. Ensure that the bed is entirely dry before starting a new print to avoid any potential damage or adhesion issues.
Inadequate Z-Axis Calibration
Incorrect Z-axis calibration can lead to poor bed adhesion or uneven layer deposition. Adjust the Z-endstop or the Z-offset to ensure that the nozzle is at the correct height above the bed. Proper calibration allows the filament to be deposited accurately on the bed, resulting in improved adhesion.
Common Mistakes Leading to Print Bed Issues
Avoiding common mistakes is as important as employing proper techniques for bed adhesion. By being aware of these mistakes, you can ensure a smoother printing experience.
Poor Bed Leveling
Failure to properly level the bed is a common mistake that adversely affects bed adhesion. Regularly check and adjust the bed level, especially before starting a new print. Take the time to ensure that the bed is perfectly level to promote successful printing.
Insufficient Material Adhesion
Not using adequate adhesive materials or using the wrong adhesive can lead to poor bed adhesion. Experiment with different materials and find what works best for the specific filament you are using. Apply the adhesive sparingly and ensure even coverage across the bed surface.
Using Incompatible Bed Surfaces
Using bed surfaces that are incompatible with the filament or print settings can result in poor bed adhesion. Research and choose a bed surface that matches the characteristics of your filament. Some materials require a heated bed, while others may work better on a textured surface. Selecting an appropriate bed surface is crucial for successful prints.
Incorrect Print Settings
Inaccurate print settings can cause bed adhesion issues. Make sure to use the recommended print settings for your filament, nozzle size, and desired print quality. Adjust parameters like print temperature, speed, and flow rate according to the specific requirements of your print. Properly configuring the print settings will greatly enhance bed adhesion.
Upgrading Print Bed Surfaces
If you are consistently experiencing bed adhesion issues, upgrading to a better print bed surface may be beneficial. Several options are available in the market that offer enhanced bed adhesion and printing experience.
Glass Beds
Glass beds are a popular choice among 3D printing enthusiasts. They provide a smooth and flat surface, which promotes good bed adhesion. Glass beds can be easily cleaned and offer excellent heat distribution. Additionally, glass beds are compatible with a wide range of filament materials.
PEI Sheets
Polyetherimide (PEI) sheets are known for their superior adhesion properties. They provide a consistent and reliable surface for prints to adhere to. PEI sheets require minimal maintenance and work well with a variety of filament types. The textured surface of PEI sheets enhances bed adhesion, making them a preferred choice for many 3D printers.
Magnetic Flex Plates
Magnetic flex plates are a convenient option for easy removal of prints. These plates typically consist of a flexible removable surface that magnetically attaches to the print bed. The flexibility of the plate allows for easy removal of prints without any damage. They often come with a removable build surface, such as PEI, making them versatile and user-friendly.
Specialized Adhesive Sheets
Specialized adhesive sheets offer a customizable and reliable bed adhesion solution. These sheets provide a textured surface that enhances adhesion while allowing for easy print removal. The adhesive sheets are often compatible with a wide range of filament materials and can withstand high temperatures. They are straightforward to install and offer consistent bed adhesion.
Alternative Print Bed Adhesion Methods
Apart from traditional adhesive materials and print bed surfaces, several alternative methods can be employed to improve bed adhesion.
Hair Spray or Adhesive Sprays
Using hair spray or adhesive sprays is a common DIY method for improving bed adhesion. Applying a thin layer of hairspray or adhesive spray onto the bed surface can create an additional grip for the print. These sprays are widely available and can provide a cost-effective solution for enhancing adhesion.
Double-Sided Tape
In some cases, using double-sided tape can help improve bed adhesion. Cut small strips of double-sided tape and place them strategically on the bed where the print will be deposited. The tape provides a sticky surface for the print to adhere to, preventing it from shifting or detaching during the printing process.
Printing with Rafts
Printing with rafts is another method to improve bed adhesion, particularly for prints with small surface areas or intricate designs. A raft is a layer of material printed underneath the actual print, acting as a foundation. The raft provides a larger contact area between the print and the bed, enhancing adhesion and stability.
Troubleshooting Tips for Stuck Prints
Despite taking all the necessary precautions, it’s still possible for prints to get stuck to the bed. When this happens, try the following troubleshooting tips to resolve the issue:
Check Bed Leveling
Ensure that the bed is properly leveled. Adjust the bed screws or use the printer’s built-in leveling feature to achieve the correct bed level. A perfectly leveled bed provides a solid foundation for the print to adhere to.
Clean Print Bed Surface
If the print bed is dirty or oily, it can hinder adhesion. Clean the bed surface thoroughly using isopropyl alcohol or specialized cleaning solutions. Ensure that the bed is completely dry before starting a new print to avoid any adhesion issues.
Adjust Print Settings
Review and adjust the print settings if necessary. Tweaking parameters like print temperature, speed, and flow rate can significantly affect bed adhesion. Experiment with different settings to find the ones that work best for your specific print.
Use Different Bed Adhesive
If prints continue to get stuck, consider switching to a different bed adhesive. Experiment with different adhesives such as glue sticks, adhesive sprays, or specialized adhesive sheets. Finding the right adhesive for your specific filament and bed surface can greatly improve bed adhesion.
Conclusion
Proper bed adhesion is crucial for successful 3D printing. By understanding why prints get stuck to the bed, implementing preventive measures, and troubleshooting techniques, you can significantly improve the quality and success rate of your prints. Choosing the right bed surface, applying adhesive materials, optimizing bed leveling, and using proper print settings are key to preventing prints from getting stuck. In case a print does get stuck, techniques like cooling the print bed, applying gentle force, or using heat for release can safely remove the stuck print. Techniques for improved bed adhesion, identifying and fixing common print bed issues, avoiding common mistakes, and upgrading to better bed surfaces provide further avenues for enhancing the 3D printing experience. With the right knowledge and techniques, you can achieve reliable and high-quality prints while minimizing the frustration of prints getting stuck to the bed.